Create a Cloud9 Workspace
AWS Cloud9 is a cloud-based integrated development environment (IDE) that lets you write, run, and debug your code with just a browser. It includes a code editor, debugger, and terminal. Cloud9 comes prepackaged with essential tools for popular programming languages, including JavaScript, Python, PHP, and more, so you don’t need to install files or configure your development machine to start new projects.
The Cloud9 workspace should be built by an IAM user with Administrator privileges,
not the root account user. Please ensure you are logged in as an IAM user, not the root
account user.
Charges begin accruing immediately so consider creating a Billing Alarm by following the instructions [here](https://docs.aws.amazon.com/AmazonCloudWatch/latest/monitoring/monitor_estimated_charges_with_cloudwatch.html).
Ad blockers, JavaScript disablers, and tracking blockers should be disabled for
the cloud9 domain, otherwise connecting to the workspace might be impacted.
Create a new environment
- Go to the Cloud9 web console
- Select Create environment
- Name it workshop, and go to the Next step
- Select Create a new instance for environment (EC2) and pick t2.medium
- Leave all of the environment settings as they are, and go to the Next step
- Click Create environment
Clean up the layout
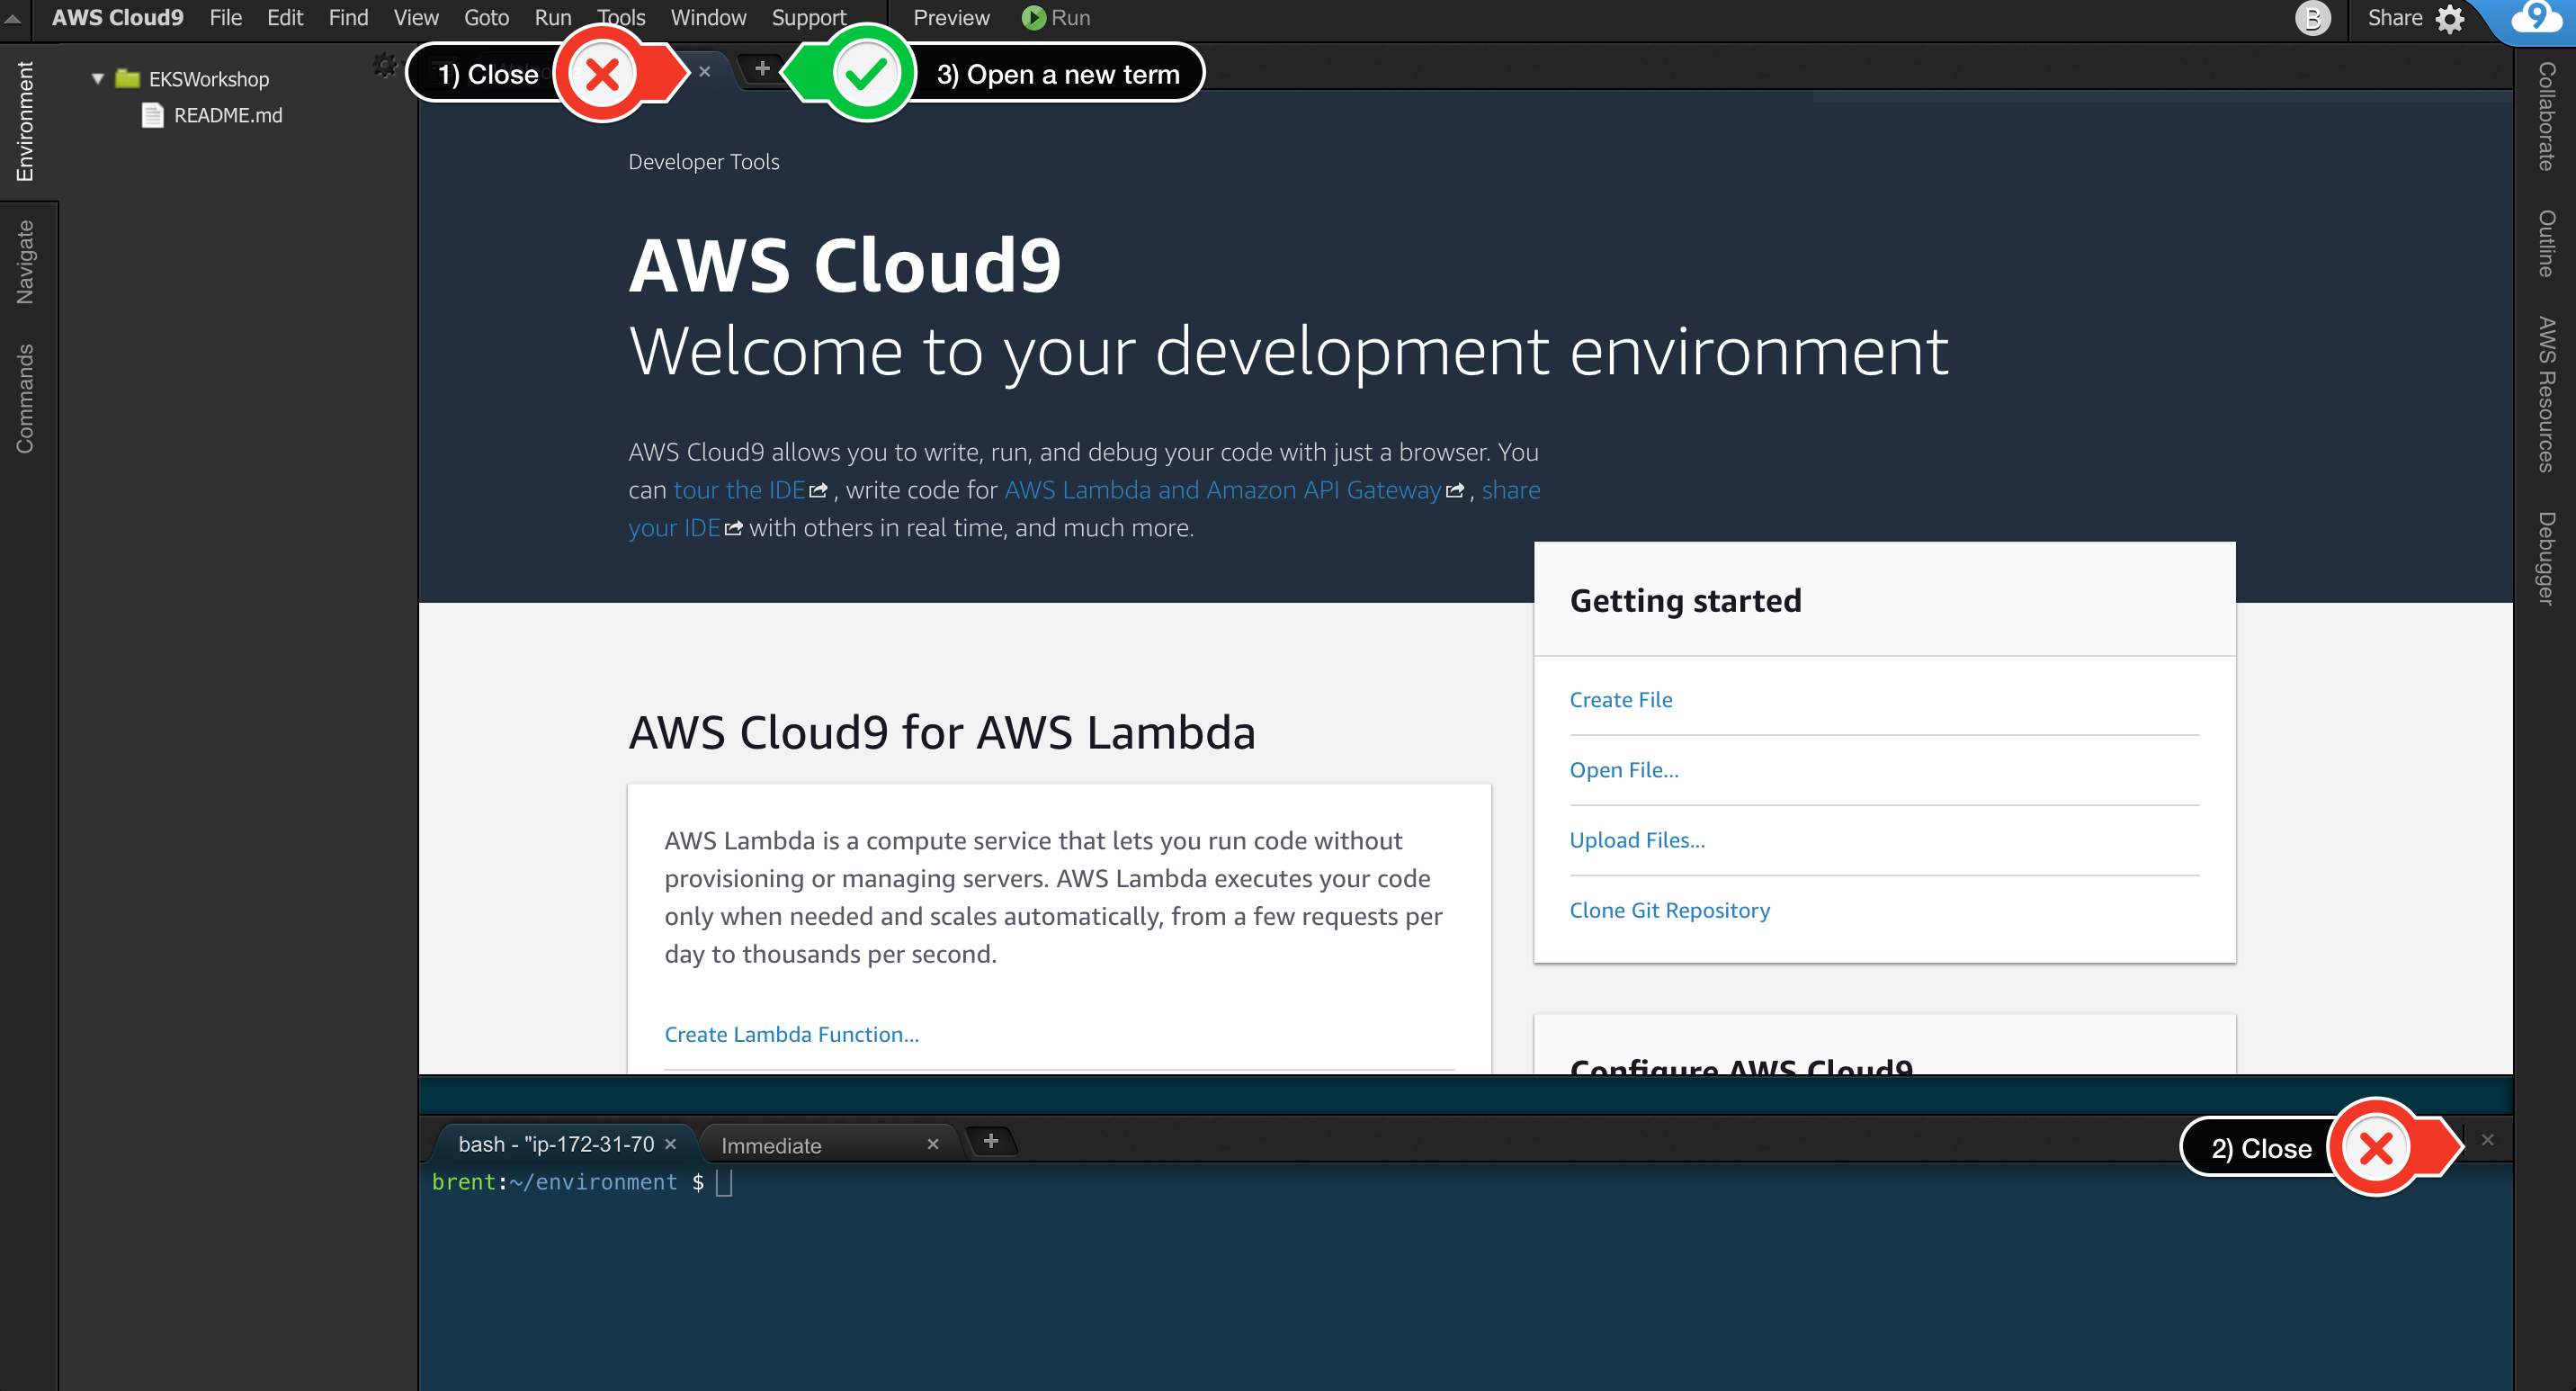
When the environment comes up, customize the layout by closing the welcome tab
and lower work area, and opening a new terminal tab in the main work area:

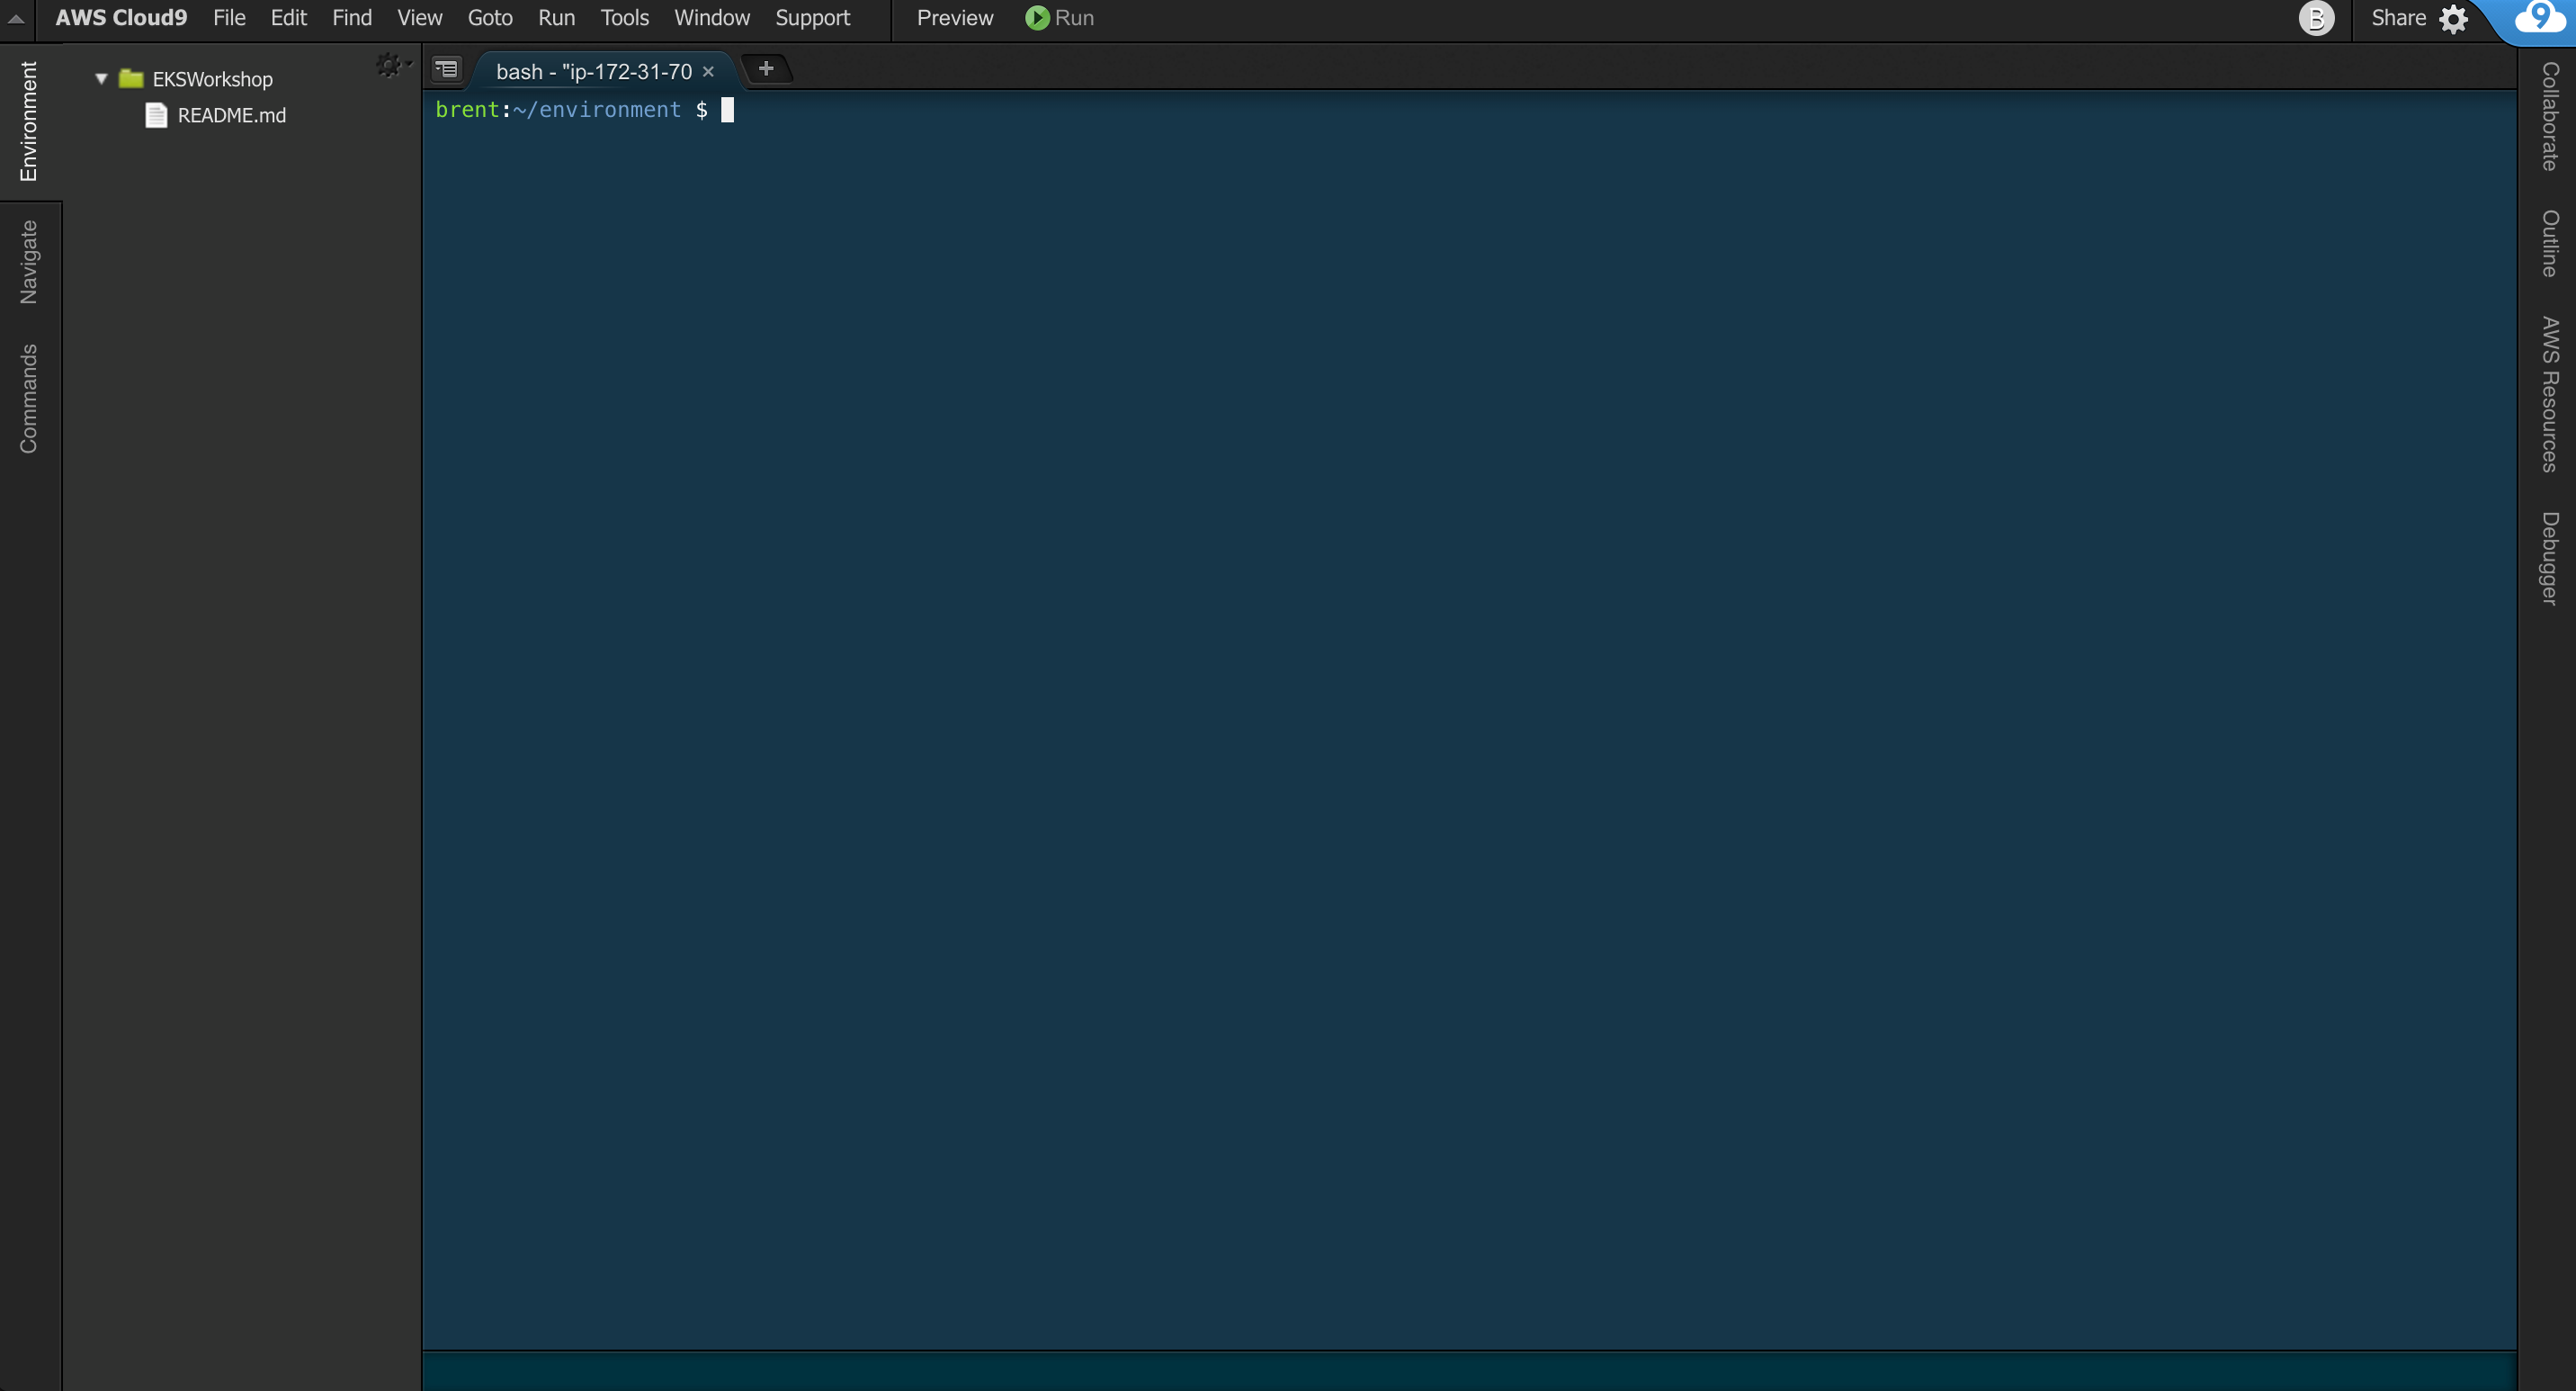
Your workspace should now look like this:

If you like this theme, you can choose it yourself by selecting View / Themes / Solarized / Solarized Dark in the Cloud9 workspace menu.