Launch Jupyter Notebook
Launching a Jupyter Notebook using Amazon SageMaker
Click on Amazon SageMaker from the list of all services by entering Sagemaker into the Find services box. This will bring you to the Amazon SageMaker console homepage. In another browser tab navigate to the IAM console homepage, as we’ll need that shortly.

To create a new Jupyter notebook instance, go to Notebook instances in the Amazon SageMaker console, and click the Create notebook instance button at the top of the browser window.

Type [Name]-lab-notebook into the Notebook instance name text box, and then ml.m5.2xlarge into the Notebook instance type. Note, for this lab the majority of the work is performed by the Amazon Personalize service, so there is not need to launch a large, compute-optimized C5 or GPU-based instance type.
Head over to the IAM console page that you opened earlier, and in the Search IAM box on the top-left enter TeamRole and select the role in the search results list.

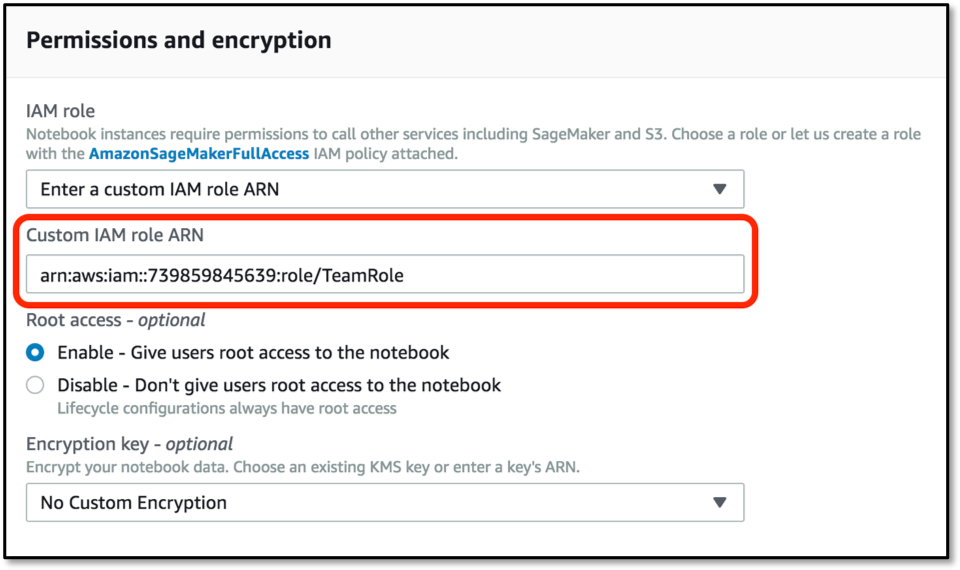
Hit the clipboard icon to the right of the Role ARN line at the top of the form to copy the full ARN into your computer’s clipboard. Head back to the SageMaker window where you have part-created a notebook. In the IAM role field in Permissions and encryption section choose Enter a custom IAM role ARN and paste the TeamRole ARN into the box below. Note that your ARN will have a different account number from that shown.
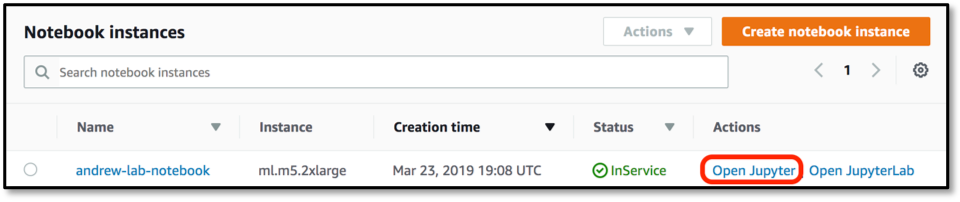
Scroll down and click on Create Notebook Instance. Wait until the notebook instance status is InService. This will take a few minutes once the creation process has started. Then click on Open Jupyter - whilst you’re waiting you can perform step #1 of the next section to copy some files from GitHub.